Removing VM: Difference between revisions
Jump to navigation
Jump to search
(→Step 5) |
|||
| (7 intermediate revisions by the same user not shown) | |||
| Line 14: | Line 14: | ||
*1. From your VM panel go to More > Manage HA in the top right corner | *1. From your VM panel go to More > Manage HA in the top right corner | ||
[[File:Proxmox-more-ha.png|200px|thumb|center|alt=location of the "Manage HA" option|location of the "Manage HA" option]] | [[File:Proxmox-more-ha.png|200px|thumb|center|alt=location of the "Manage HA" option|location of the "Manage HA" option]] | ||
*2. Set Request State to “stopped” | |||
[[File:Screenshot 2024-09-02 at 11.33.16.png|200px|thumb|center|alt=HA config panel|HA config panel]] | |||
=== Step 3 : Undo IPA enrollment === | |||
'''This step can only be performed by the First Responder ''' | |||
*1. Select the desired hostname and click delete | |||
[[File:IPA-Hosts-Panel.png|200px|thumb|center|alt=IPA hosts panel|IPA hosts panel]] | |||
*2. This will open a modal, make sure to check the option to remove all A, AAAA, SSHFP and PTR records | |||
[[File:IPA-host-removal.png|200px|thumb|center|alt=Host removal confirmation prompt|Host removal confirmation prompt]] | |||
=== Step 4 : Remove all references === | |||
Remove any reference of your VM from our [https://git.dsinternal.net/delft-solutions/infrastructure/dns DNS repo] | |||
=== Step 5 : Remove the vm on proxmox === | |||
*1. From your vm panel go to More > Remove, in the top right corner | |||
[[File:Proxmox-vm-removal-location.png|200px|thumb|center|alt=Proxmox vm removal option location|Proxmox vm removal option location]] | |||
*2. This will open a modal, make sure to check all boxes and confirm the id of the VM you’re removing | |||
[[File:VM-removal-confirmation-prompt.png|200px|thumb|center|alt=VM removal confirmation panel|VM removal confirmation panel]] | |||
Latest revision as of 01:52, 2 September 2024
This guide was written with the general idea of undoing the steps from our VM Setup guide going in reverse order.
Step 1 : Disable the host on Zabbix
This avoids having to create a maintenance period for the next step. This can be done 2 ways:
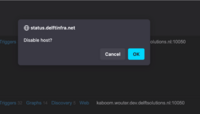
- 1st way : In Zabbix > Configuration > Hosts find the VM you want to disable, in the “status” column you should see “Enabled”, click “Enabled” to disable the VM you’ll get a confirmation prompt.
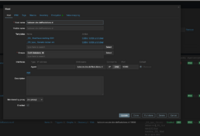
- 2nd way : In Zabbix > Configuration > Hosts, find the VM you want to disable, click its name, a configuration panel appears, uncheck the “Enabled” checkbox
Step 2 : Remove VM from HA group
In Proxmox
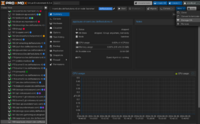
- 1. From your VM panel go to More > Manage HA in the top right corner
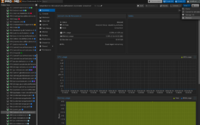
- 2. Set Request State to “stopped”
Step 3 : Undo IPA enrollment
This step can only be performed by the First Responder
- 1. Select the desired hostname and click delete
- 2. This will open a modal, make sure to check the option to remove all A, AAAA, SSHFP and PTR records
Step 4 : Remove all references
Remove any reference of your VM from our DNS repo
Step 5 : Remove the vm on proxmox
- 1. From your vm panel go to More > Remove, in the top right corner
- 2. This will open a modal, make sure to check all boxes and confirm the id of the VM you’re removing


